The content of the article
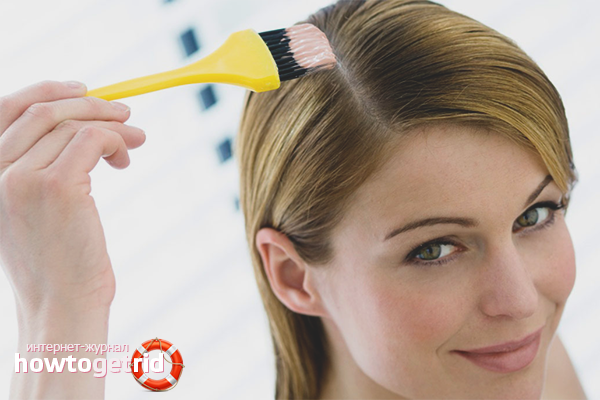
After dyeing, the hair looks smooth and ideal, but after 2-3 weeks the roots grow, which spoil the aesthetic appearance. It is difficult to call the procedure for staining the basal zone salon, for its implementation you do not need to have hairdressing skills. However, as in any other case, staining the roots has its own nuances, which are important to consider. Let's consider everything in order.
Necessary tools and materials
- plastic or rubber gloves (often come with paint);
- flat comb with small teeth;
- sponge or brush for coloring;
- dishes for mixing components (glass, ceramics);
- cosmetic tampons;
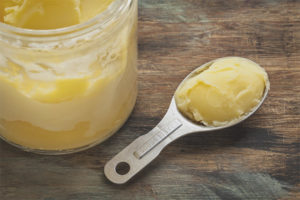
- fat cream (can be for children);
- coloring pigment.
Training
- For the procedure, it is very important to choose the right paint. If possible, get the composition that dyes the entire surface of the hair. Otherwise, the application of one chemical composition to another may give an undesirable hue in the connection zone.
- After purchasing the dye, carefully read the instructions. When diluting paint, it is strictly not recommended to violate the proportions of mixing the activator and the main pigment. If you use a professional series, the amount of color mixton should not exceed 10% of the total weight of the composition.
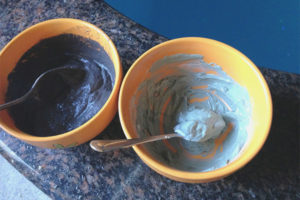
- Take a ceramic, plastic or glass bowl, mix in it all the components in the right proportions. When connecting the dye with the oxidizing agent, make sure that none of them remain on the walls of the container in a pure form. Bring the mixture to uniformity, then proceed immediately to the application. Do not use iron utensils, in contact with the activator it can react, which will significantly change the final shade.
- Change into old clothes or put on a hairdressing apron, put on gloves. Apply greasy cream to the hairline along the neck and forehead. Treat the area behind the ears and directly the ears themselves so that the paint does not soak into the skin. When applying the cream, do not touch the roots, especially the hair near the forehead in the parting area.
Root staining technology
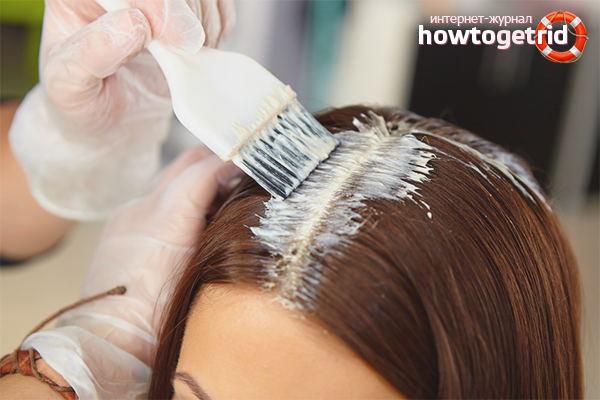
- Comb the hair, divide it into 2 equal parts, so that a straight part is formed on the top and back of the head. Carefully treat the basal zone, try not to touch previously dyed hair. Put the brush aside and begin to gently massage the scalp at the place of staining, this will allow the product to spread evenly.
- After processing a straight parting, draw a comb from one temple to another (closer to the ears). Repeat the previous steps: first paint over the root area, then gently massage the scalp in the area of application of the composition. Ultimately, you should get a kind of cross on the top, consisting of 4 squares. Dye the hair roots in the ears, try not to get on the skin.
- Comb the hair from the back of the head to the forehead, work through the parted. Using a comb, separate the strands from the back and side of the head, color the roots one by one. Since now your hair is combed forward, you need to return them to the opposite position. Slowly grab the strands from the crown, returning them back, immediately paint over the resulting parting. Gradually move to the forehead and temples. Apply paint along the top of the head in rows: combed back, painted over, combed again. Do not forget to massage the scalp after each application of pigment.
- When you color the roots on the entire surface of the head, the hair will stick out in different directions, do not smooth them.Now you need to time and wait for a certain period. Find the section marked “Root staining” in the instructions for the paint, the manufacturer indicates the exact exposure time. Wait for it, then take a flat comb and comb the strands, distributing the composition along the entire length of the hair. After this, wait another 10 minutes for the paint to absorb. Such a move will allow you to hide the border of the imposition of a new pigment on the old.
Practical guidelines for staining the roots
- If you are a dyed blonde, try to apply the composition without getting on the previous hair color. Otherwise, the transition zone will be lighter than the roots and the primary color.
- Any use of persistent and semi-resistant dyes involves a chemical effect on the hair. To minimize harm, do not wash your hair for two days before the procedure.
- In cases where previously unpainted paint is used to stain the roots, a possible allergy test should be performed. 40 hours before direct staining, dilute a little composition and apply it on the back of the head (closer to the neck). Wait, rinse, evaluate the result.
- If you paint gray hair, give preference to persistent (ammonia) dyes. Henna, basma and semi-resistant dyes will cope with the task only 60-70%.
- Pregnant and lactating women are strictly forbidden to dye their hair roots with ammonia pigments.
- To avoid differences between the primary color and the root zone, do not forget to time the clock. Always add 10 minutes after spreading the composition over its entire length.
- The optimal frequency of coloring of hair roots varies from 1 to 2 times per month. In this case, you can not paint the roots within a week after the perm.
- Diluted paint is not allowed to be left the next time, nor stored in open form for more than 3 hours. Try to use the composition immediately after its preparation.
Coloring the hair roots is not particularly difficult, the main thing is to do everything quickly, clearly and accurately. Separate the hair into partings, color them, then proceed to the corrective treatment, choosing individual strands. After the procedure, use rinse aid to maintain color.
Video: lightening hair roots at home with tinting


Submit